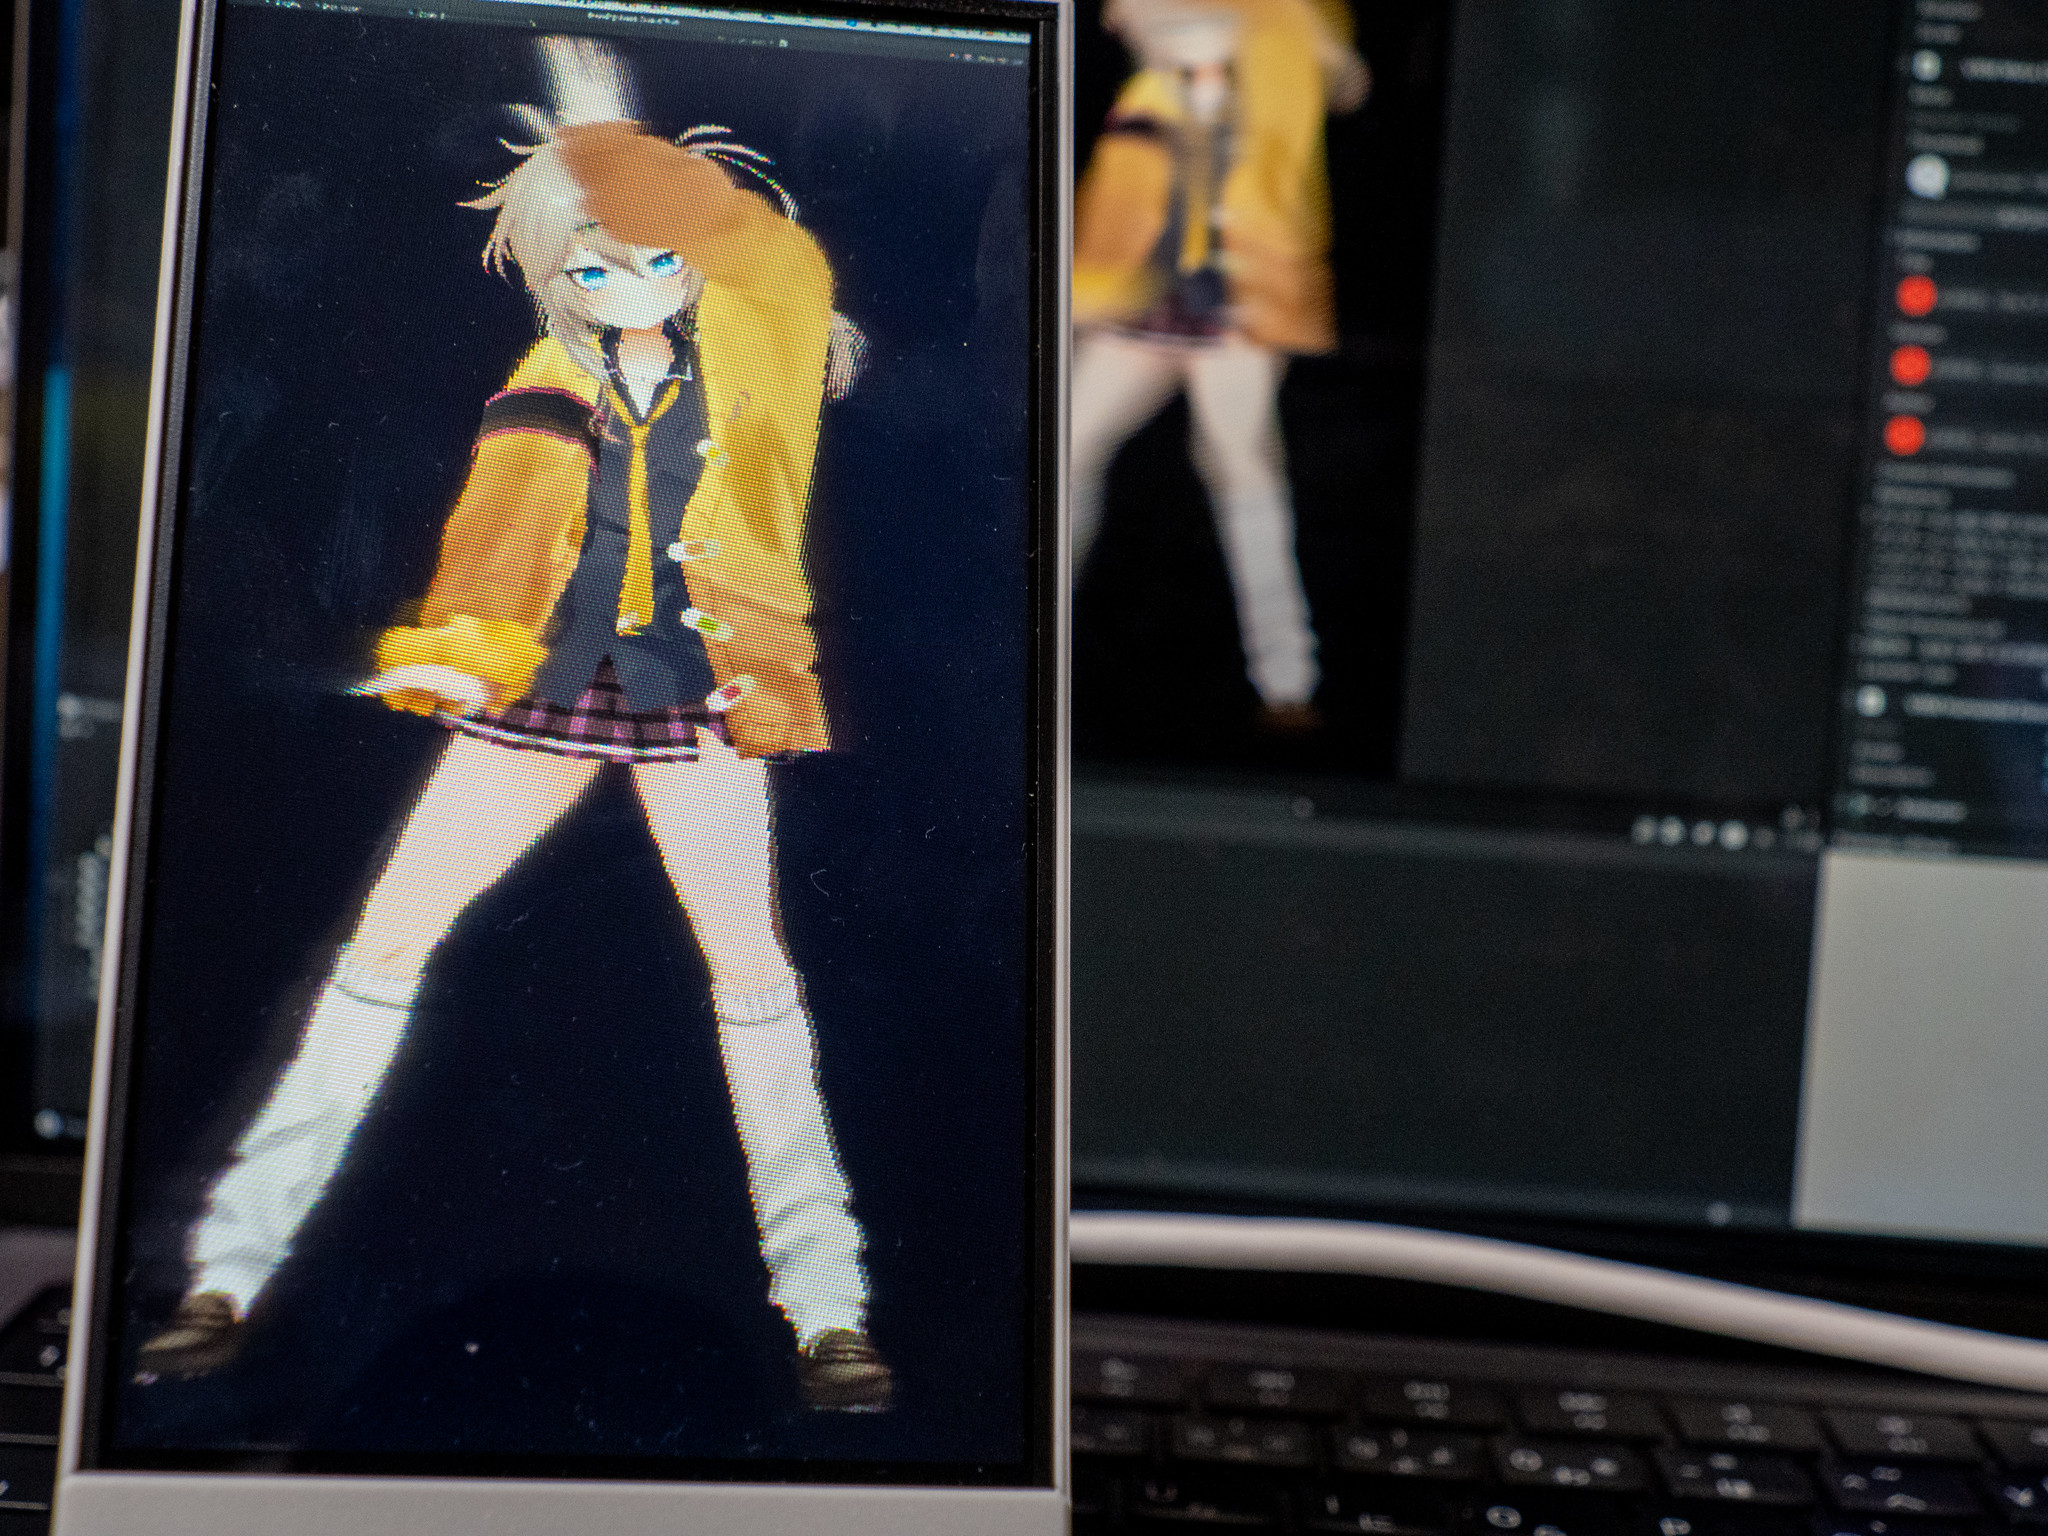
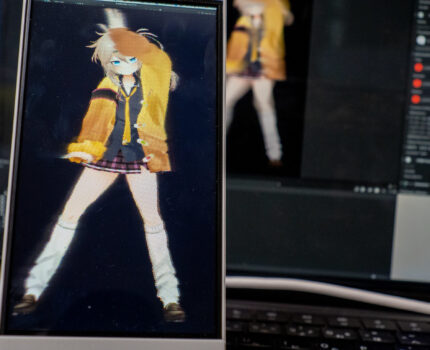

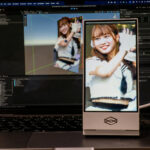
昨日はLooking Glass GoでAIアバターを動かしましたが、もう少し大きく動かしたほうが面白いかなと、踊らせてみました。
MMDモデルとUnityのモーションデータがあれば、Looking Glass Goでキャラが踊る姿を立体で観ることができます。
MMDモデルはここなどに色々公開されていますが、前記事と同じ 春日部つむぎ(https://3d.nicovideo.jp/works/td84779)を利用させていただいています。
MMDモデル(PMXファイル)をUnityで使えるようにするのには、MMD4Mecanim (Beta)を使ってFBXに変換する方法が良く紹介されていますが、Macだと面倒かつあまりうまくいかなかったので、下記を使って、VRMに変換します。
BVH to VMD and PMX to VRM Converter Mac/Window ファイル変換ソフト(https://booth.pm/ja/items/3581243)
下記からUniVRM-0.89.0_9470.unitypackageをダウンロードし、Unityの3DプロジェクトでAssets>Import Package>Custom Packageで読み込みます。
https://github.com/vrm-c/UniVRM/releases/tag/v0.89.0

すべてチェックの状態でImport

Yes, for … を押します。
これでVRMファイルが使えるようになるので、Assetsに配置し、Hierarchyに追加します。
Unityのモーションは、オフィシャル公開され話題になった【ダンスモーションデータ】TVアニメ「パリピ孔明」OPテーマ「チキチキバンバン」【踊ってみた】を使わせていただきました。ダウンロードしたファイルをフォルダごとAssetsフォルダに入れます。
Assetsフォルダで右クリックして、Create>Animator ContrillerでAnimator Controllerを作成します。
HierarchyのVRMモデルをクリックしてInspectorのAnimatorのControllerに作成したAnimator Controllerを指定します。

Apply Root Motionにチェックをいれるとちゃんと場所移動しますが、Looking Glass Goの場合、あまり前後に移動すると見づらくなるので好みで。
AssetsのAnimator Controllerをダブルクリックして、Base LayerにAssetsにあるモーションデータをドラッグ&ドロップします。

次に下記でダウンロードした、Looking Glass Unity Pluginをインストールします。
https://lookingglassfactory.com/software/looking-glass-unity-plugin

こちらもすべて選択

Apply Changesを選択
Assets>LookingGlass>PrefabsからHologram CameraをHierarchyに追加します。

VRMモデルのInspectorのTransformを調整してLooking Glass Goにキャラクターが映るようにします。
Looking Glass Goに壁紙しか写らない場合は、Assets>ScenesのSampleSceneをダブルクリックします。

音を追加したい場合は、Assetsフォルダにmp3ファイルを配置して、Hierarchyで右クリックしてAudio>Audio Sourceを指定して、Audio Sourceを追加。クリックしてInspectorのAudioClipでmp3ファイルを指定します。

Playボタンを押すと、キャラクターが踊りだします。

やっぱり動画ではよくわかりませんが、実際はしっかり立体的に見えて良いです。
(Looking Glass Goにスピーカーは付いていないので、音はMacから出しています。イヤホンジャックにスピーカーを接続すればLooking Glass Goから出すことも可能)

Hologram CameraのInspectorのQuilt Capture (Script)で、Screenshotを押すと、Quilt形式の画像のキャプチャが撮れます。

Quilt形式は下のように画像が並んでいます。Looking Glass Goの場合は11×6の画像が並ぶ4092×4092の画像になります。

Quilt Capture (Script)で、Capture ModeをManualにしてRecord On Startにチェックを入れると、再生したときにQuilt形式(webm)の動画が撮れます。ただし時間がかかるのと、音声は入りません。

Quilt形式で撮った画像や動画は、Quilt Photo and Videoを指定してLooking Glass Studioに入れることで、Looking Glass Goで観ることもできますよ。

PropertiesにはColumsに11、Rowsに6を指定します。

動く3Dホログラムは楽しいですね。
(追記)箱付きにすると立体感が増すらしい(影などで立体感が分かりやすい)ので、箱を作って(3DObject>Cubeを5つ造ってTransformで5面に変形)、ちゃんと移動する(Apply Root Motionにチェック)パターンも作ってみました。
関連投稿:
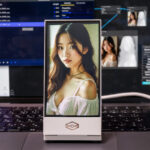 Looking Glass Go に AI美女ホログラム を表示してみました #LookingGlassGo #Mac #Comfyui #Marigold
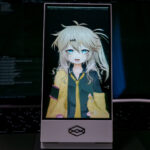 Looking Glass Go で AI会話できるMMDモデルをホログラム表示 #ChatGPT #ChatdollKit #VOICEVOX #LookingGlassGo
 Looking Glass Go で アイドル動画をリアルタイムでホログラム表示 #monoculardepthunity #LookingGlassGo
 スマホサイズのコンパクトなホログラフィック空間ディスプレイ「Looking Glass Go」のクラウドファンディング開始 #LookingGlassGo
ピンバック: Looking Glass Go で アイドル動画をリアルタイムでホログラム表示 #monocular-depth-unity #LookingGlassGo | Digital Life Innovator