
Looking Glass GoでMMDモデルのダンスを楽しんだあとは、撮影動画をリアルタイムでLooking Glass Goで立体表示してみました。
monocular-depth-unityを使ってMiDaSモデルの深度推定を行い、立体表示を行います。
UnityのWindow>Package Managerを開き、Add Package from git URLをして下記URLを入れ、Installします。
https://github.com/GeorgeAdamon/monocular-depth-unity.git?path=/MonocularDepthBarracuda/Packages/DepthFromImage#main
Uncharted Limbo NN Depthが追加されます。
ProjectのPackages>Uncharted Limbo NN Depth>PrefabsにあるDEPTH_FROM_IMAGEをHierarchyのSampleSceneに追加します。

ProjectのAssetで右クリックして、Create>Render Texureを選択して、New Render Texureを作成します。

SampleSceneのDEPTH_FROM_IMAGE>NN Solverをクリックして、Input TextureにNew Render Texure入れます。

SampleSceneのDEPTH_FROM_IMAGE>Depth Mesherをクリックして、Color TextureにNew Render Texure入れます。
Use Color Textureにチェックを入れます。

Assetsに動画を追加します。(今回は縦HD動画(1080×1920)を追加しました)
さらに、Hierarchy>SampleSceneで右クリックして、Video>Video Playerを選択して、Video Playerを追加します。
Video Playerをクリックして、InspectorでVideo ClipにAssetsに追加した動画を選択、Target TextureにNew Render Textureを選択します。

Looking Glass Unity Pluginをインストールして、Assets>LookingGlass>PrefabsのHologram CameraをSampleSceneに追加します。

Hologram Cameraに動画が映るように、DEPTH_FROM_IMAGEのInspectorのTransformの値を調整します。

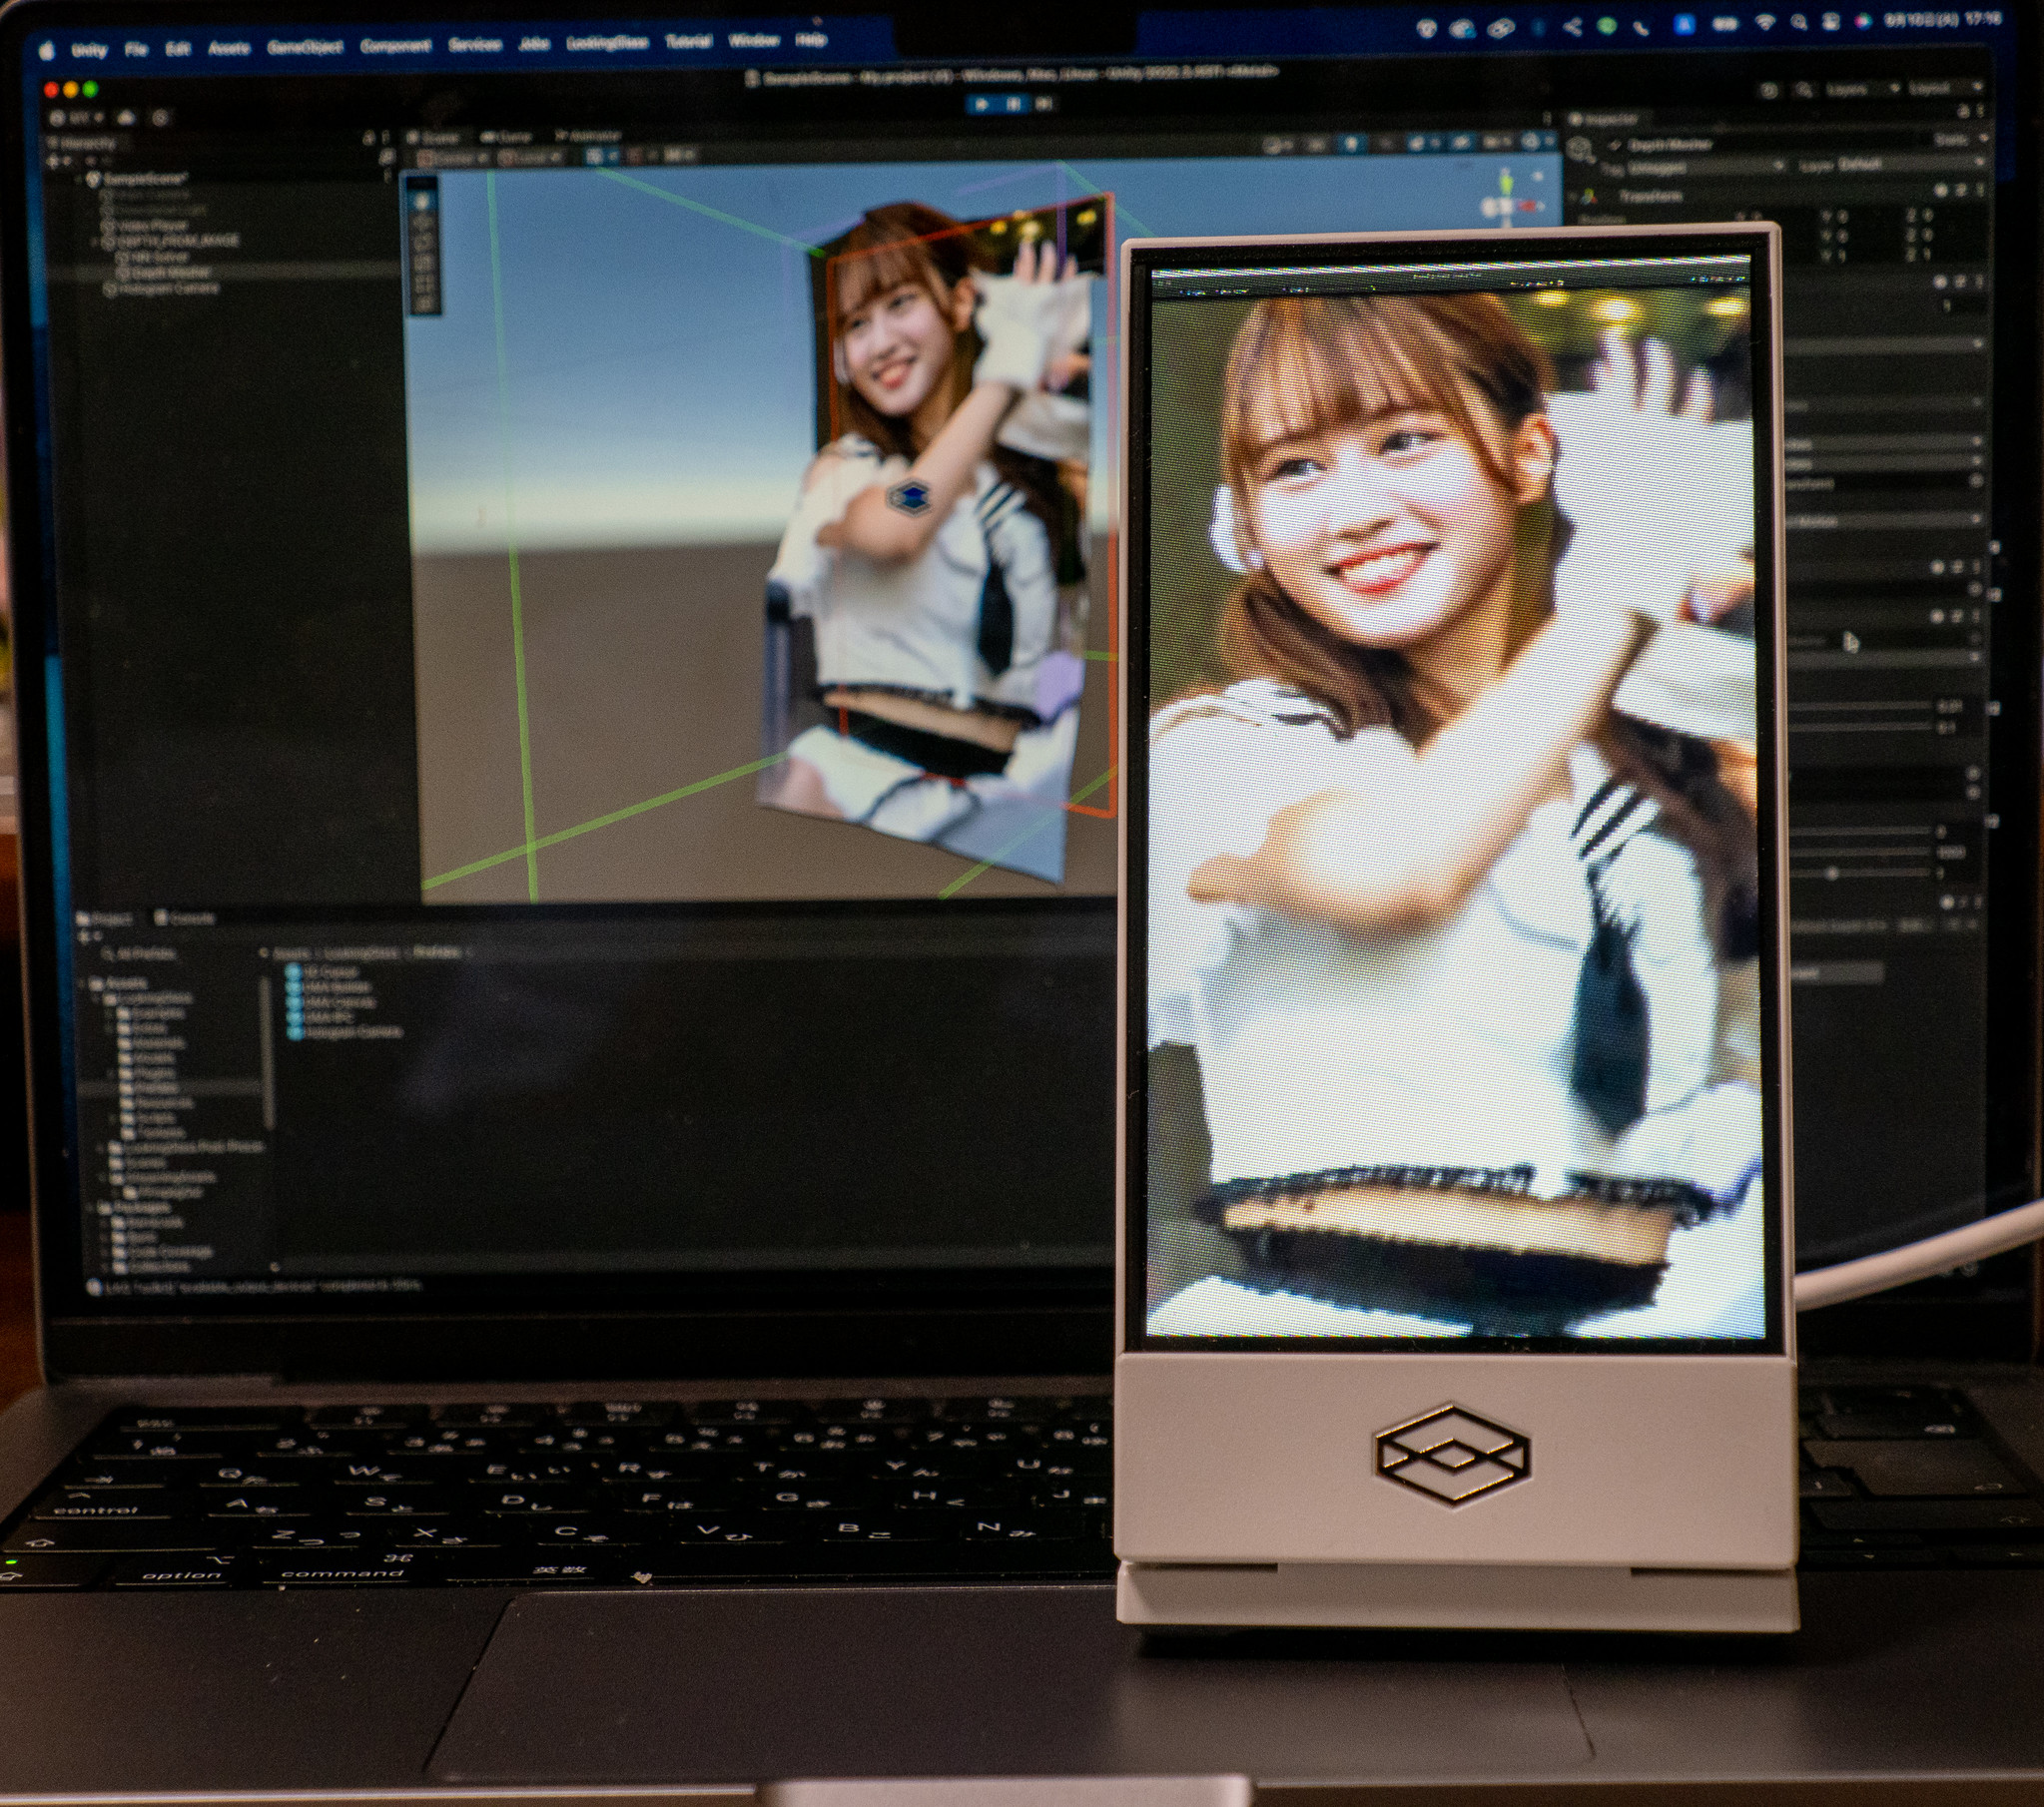
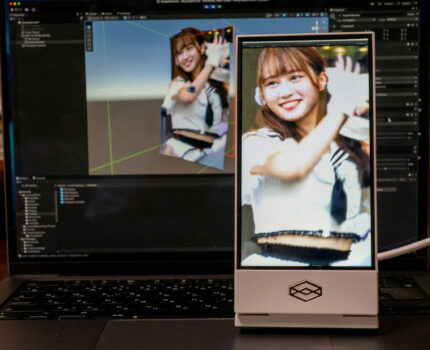
再生すると動画が推定された深度に貼り付けられるようにして立体表示されます。

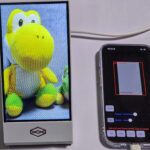
Looking Glass Go では、動画が立体的に再生されます。
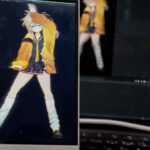
Use Color Textureにチェックを外すと、推定された深度が表示されます。

Looking Glass Goで再生している様子を動画で載せておきます。わかりにくいですが、とても立体的に見えています。
たまに深度表示に切り替えています。Mac画面の方が深度推定の様子がわかるかも。間違っている場合もありますが、単眼の映像をリアルタイムにこれだけ立体化できれば十分ですね。
最近撮影した下記アイドル イベントの動画を立体表示してみました。
MyDresscode 「脳内 妄想 愛してる♡」
HUNNY BEE 「Re : Start With Yourself」
momograci 「どーしてそんなに可愛いーの?」
関連投稿:
 Looking Glass Go に AI美女ホログラム を表示してみました #LookingGlassGo #Mac #Comfyui #Marigold
 Looking Glass Go で AI会話できるMMDモデルをホログラム表示 #ChatGPT #ChatdollKit #VOICEVOX #LookingGlassGo
 Looking Glass Go で MMDモデルのダンスを楽しむ #MMD #Unity #パリピ孔明 #チキチキバンバン #LookingGlassGo
 Looking Glass Go を iPhone に直結して、ポートレート写真やシネマティックビデオをホログラム表示 #LookingGlassGo