
M1 MacBook Air 2020 にインストールした Stable Diffusion。文章から画像を生成するだけでなく、下絵と文章から画像を生成することもできるようなので試してみました。txt2img.pyではなくimg2img.pyを使います。
python scripts/img2img.py --prompt "(画像の説明)" --init-img (下絵ファイルのパス) --strength (変化量) --n_samples 1 --n_iter 1
下絵をどのくらい変化させるかを指定し、画像の説明にあわせてAIが加筆します。

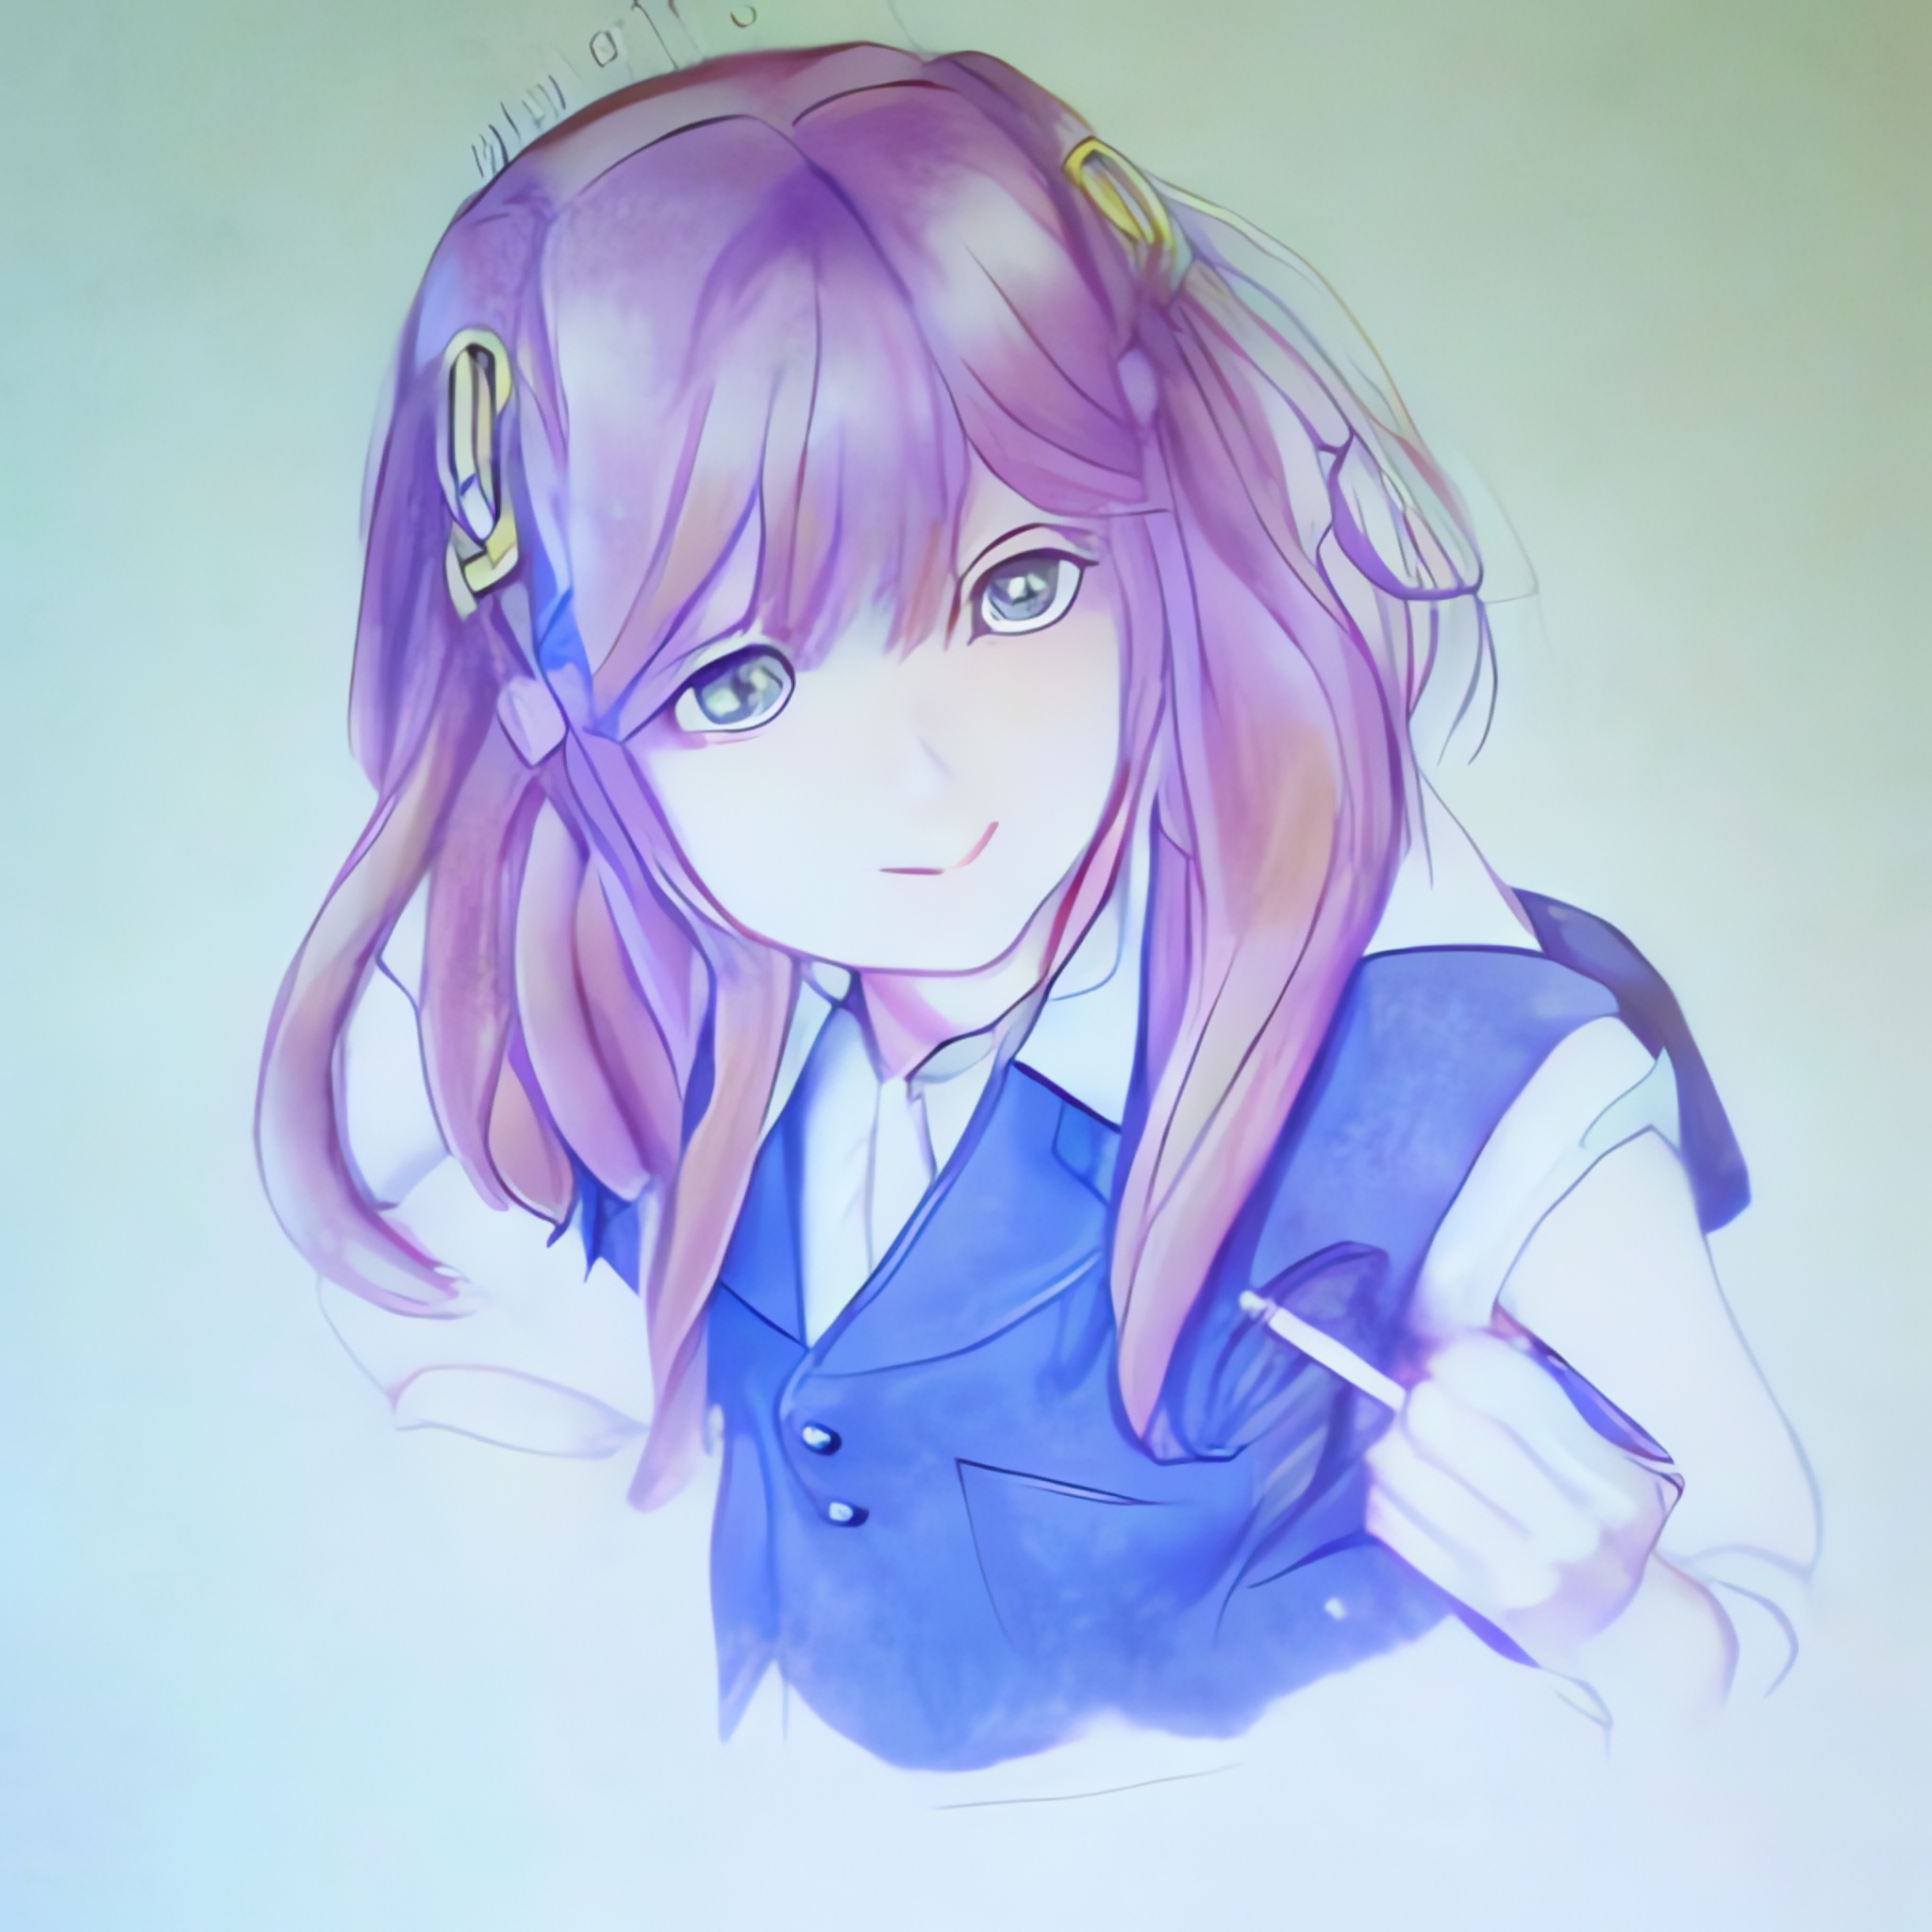
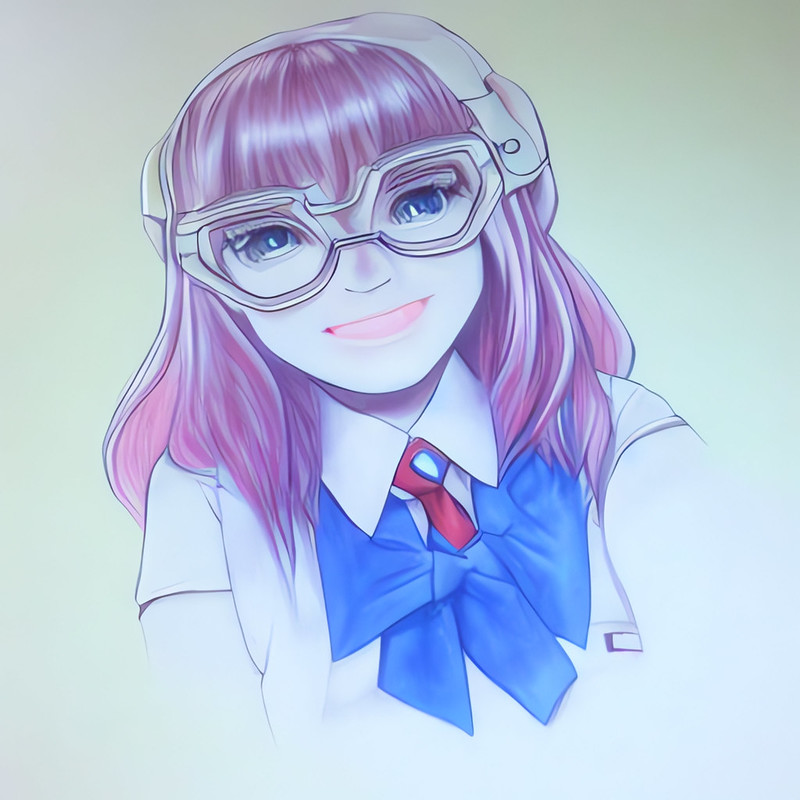
下絵として昔描いた絵を使ってみました。もっと簡易なものでも大丈夫。
–strength 0.3
0.3くらいだと、ほぼ下絵のまま、多少の修正を加える感じですね。

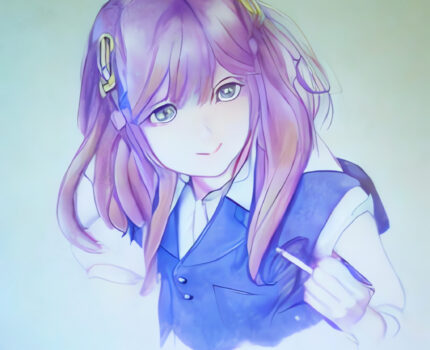
–strength 0.4
構図はほぼそのままかなり修正されます。

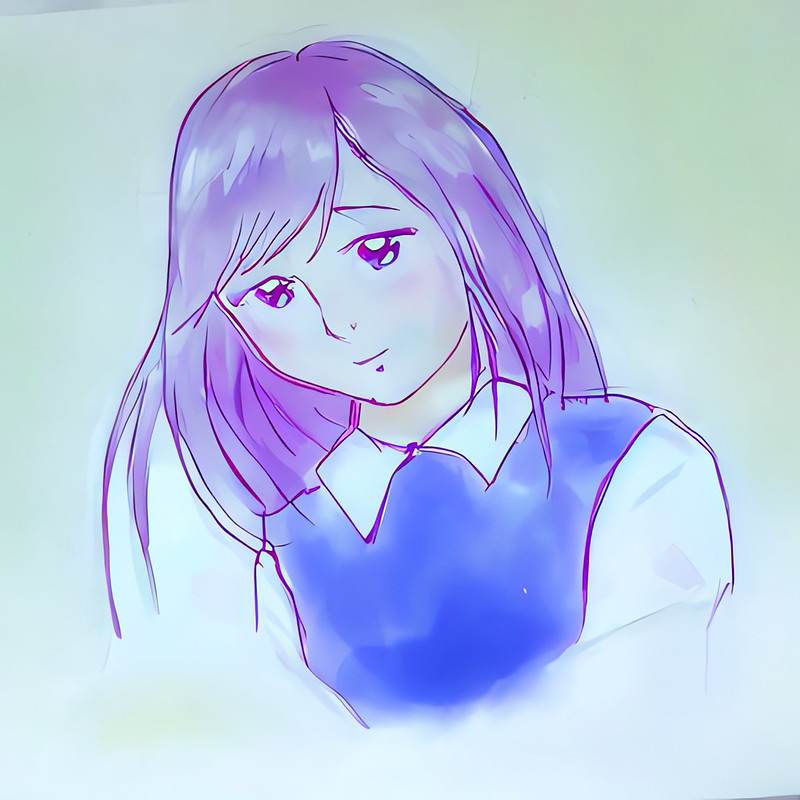
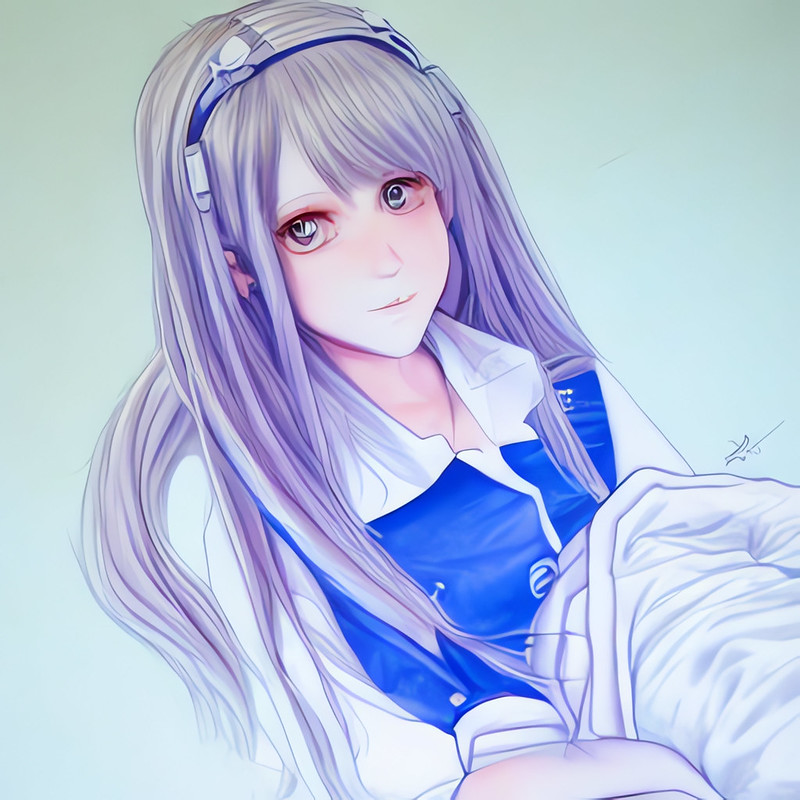
–strength 0.5
構図も多少変更され、タッチもだいぶ変わりますね。
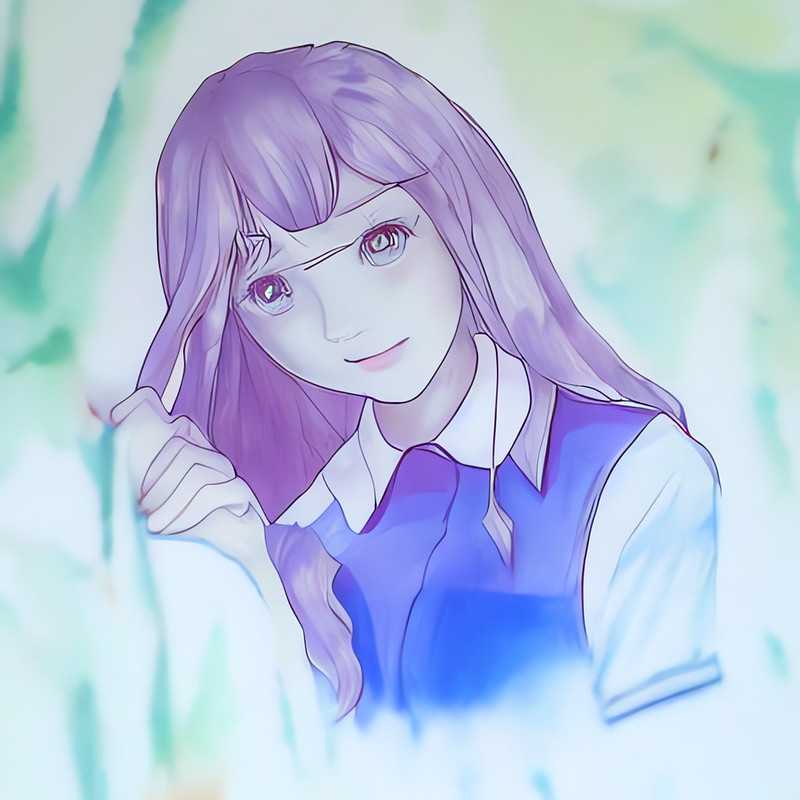
–strength 0.6
これ以上はかなりの創作が入った感じに
–strength 0.7
–strength 0.8
もうほぼ別物ですね。
おおまかな構図や色などを言葉じゃなくて下絵で指示できるのは面白いです。
ちなみに同じ変化量でも毎回違う感じになるので、好きな感じになるまで何枚も描かせることもできます。
変化量が大きいほど時間はかかりますが、M1 MacBook Airで、1枚あたり2分から6分ほどでした。

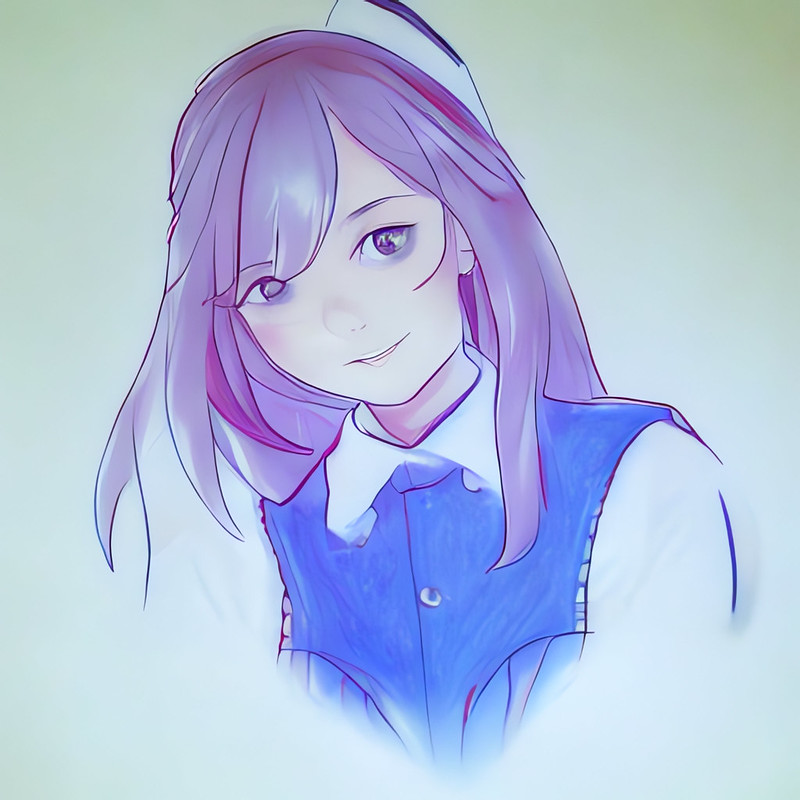
AIが描いた画像を下絵に使って、さらにAIで修正することもできます。先ほどの–strength 0.5の絵を下絵として、さらに–strength 0.3で加筆。
これも同じようにして生成。良い感じになりました。よく見ると変なところもありますが、そこは手で修正するとかできそうです。
こちらは先ほどの–strength 0.4の絵を下絵として、さらに–strength 0.4で加筆したもの。

まとめるとこんな感じです。
関連投稿:
 #StableDiffusion VRAM4GBのGPUでも動作 顔補正 アップスケール プロンプト比較 一部補正 などなど便利機能満載の Stable Diffusion web UI (AUTOMATIC1111)
 NVIDIA RTX搭載Windows PCで GUIで簡単に #StableDiffusion を使える NMKD Stable Diffusion GUI が登場
 Stable Diffusion の mov2mov で AI動画作成 #StableDiffusion #mov2mov #ControlNet
 Apple M1/M2 Mac に Stable Diffusion web UI をインストールする方法 #StableDiffusion #BRAV5
ピンバック: NVIDIA RTX搭載Windows PCで GUIで簡単に #StableDiffusion を使える NMKD Stable Diffusion GUI が登場 | Digital Life Innovator