
DreamStudioが面白かったので、そこで使われているオープンソースの高性能画像生成AI「Stable Diffusion」をM1 MacBook Air 2020 16GBにインストールしてみました。最初はNVIDIA GeForce RTX2060搭載のUbuntuで試したのですが、GPUのVRAM不足エラーが解消できず(解消できたので最後に対処を書いてます)。M1 MacBook Airでも動くのを知り、こちらで試してみました。
stable-diffusion on M1 MacBook Air 2020
基本は上記の記事のとおり行いましたが、うまくいかなかったところもあったので、メモしておきます。
https://huggingface.co/にアクセスして、サインアップし、メール認証します。
brewが動かなかったので下記の記事を参考に動くようにしました。
cd /opt
sudo mkdir homebrew
sudo chown $(whoami) homebrew
curl -L https://github.com/Homebrew/brew/tarball/master | tar xz --strip 1 -C homebrew
次にanacondaとgit lfsをインストール
brew install git-lfs
git lfs install --skip-smudge
brew install anaconda
/opt/homebrew/anaconda3/bin/conda install bash
ターミナルを再起動して、
conda update -y -n base -c defaults conda
Stable Diffusionのモデルを取得します。https://huggingface.co/で設定したユーザ名とパスワードを使います。
git clone https://huggingface.co/CompVis/stable-diffusion-v-1-4-original
cd stable-diffusion-v-1-4-original
git lfs pull
cd ..
Stable Diffusionを取得します。(先の記事にあったenvironment-mac.yamlの変更はエラーになるので行わず)
git clone https://github.com/magnusviri/stable-diffusion.git
cd stable-diffusion
git checkout apple-silicon-mps-support
conda env create -f environment-mac.yamlで、Building wheels for collected packages: tokenizers というエラーが出たので、
curl --proto '=https' --tlsv1.2 -sSf https://sh.rustup.rs | sh
source ~/.cargo/env
pip install transformers==2.4.1
環境設定します。
conda env create -f environment-mac.yaml
conda activate ldm
conda install -y pytorch torchvision torchaudio -c pytorch-nightly
mkdir models/ldm/stable-diffusion-v1
mv ../stable-diffusion-v-1-4-original/sd-v1-4.ckpt models/ldm/stable-diffusion-v1/model.ckpt
vi /opt/homebrew/anaconda3/envs/ldm/lib/python3.10/site-packages/torch/nn/functional.py
return torch.layer_norm(input.contiguous(), normalized_shape, weight, bias, eps, torch.backends.cudnn.enabled)
input → input.contiguous() に修正
(/opt/homebrew/anaconda3/envs/ldm/lib/python3.10/site-packages/torch/functional.pyではなく、
/opt/homebrew/anaconda3/envs/ldm/lib/python3.10/site-packages/torch/nn/functional.pyを編集)
AIを実行
python scripts/txt2img.py --prompt "(描きたい画像の説明)" --plms --n_samples 1 --n_iter 1
コマンド実行しようとしたら、ModuleNotFoundError: No module named ‘imwatermark’ が出たので、
brew install cmake
brew install protobuf
pip install onnx --no-use-pep517
pip install invisible-watermark
このくらいで動くようになりました。
最初の1枚の生成にはダウンロードが実施されるのでかなり時間がかかりますが、そのあと1枚の生成にかかる時間は5-8分。やはりM1 MacBook Airでは時間がかかりますが、耐えられないほどの遅さでもないですね。今まであまり熱くなることなかったMacBook Airがほんのり熱くなって頑張っていることが分かります。
生成できる画像は512×512くらいのサイズなので、アップスケールするためのReal-ESRGANもMacBook Airにインストールしました。
https://github.com/NightmareAI/Real-ESRGAN
このページにある「Portable Windows / Linux / MacOS executable files for Intel/AMD/Nvidia GPU. 」のMacOSのところをクリックしてzipファイルをダウンロードします。解凍して、実行権限を付けて、セキュリティ設定をして実行できるように。こちらはすぐに使えました。1枚のアップスケールも一瞬でできますね。
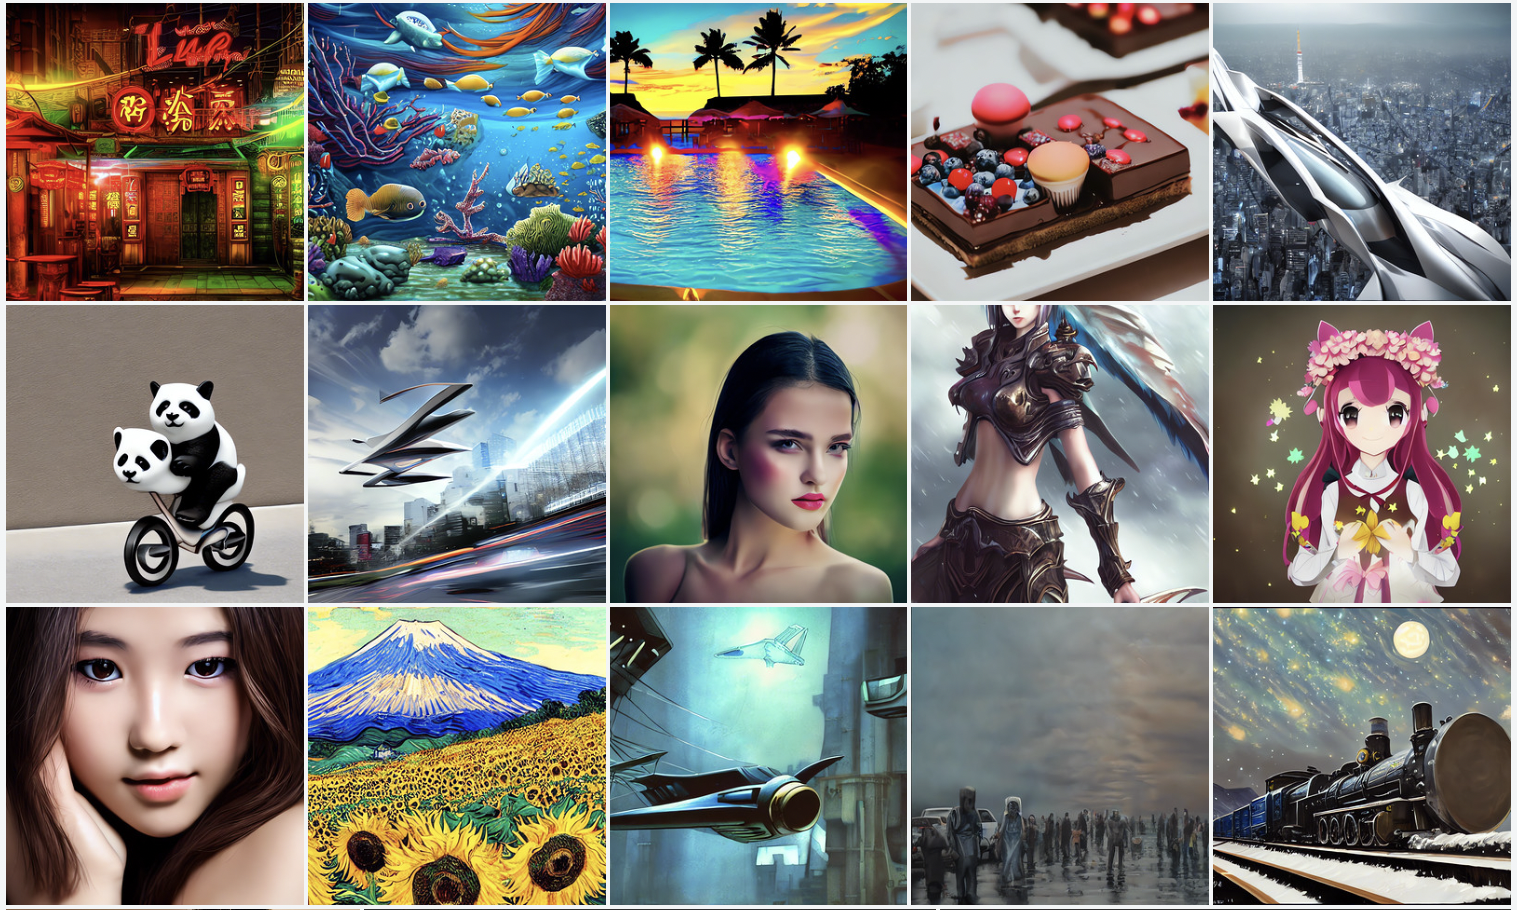
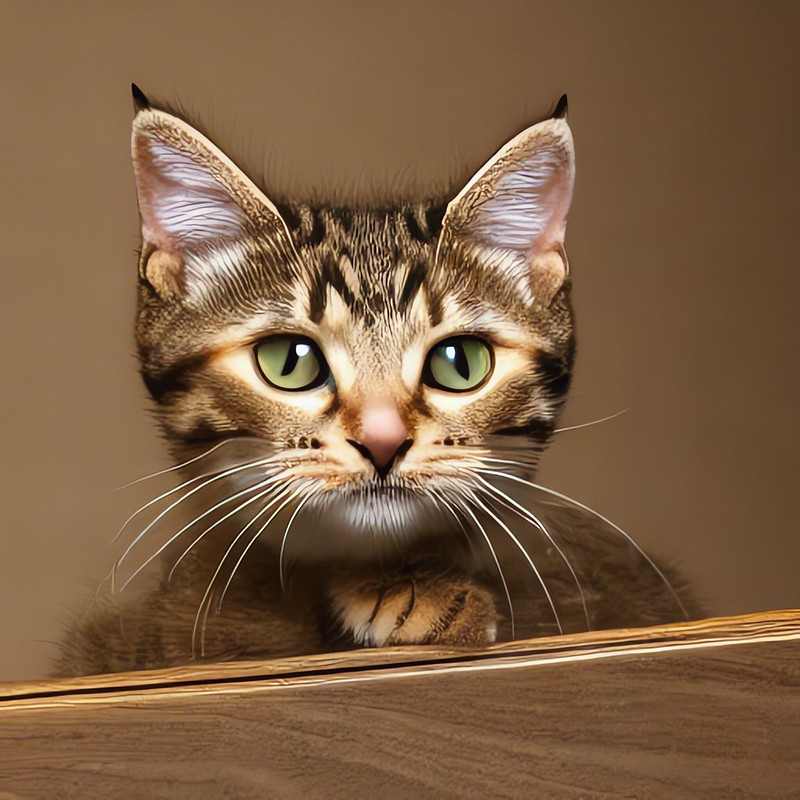
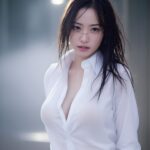
これで画像生成がいくらでもできるようになりました。テストで生成してみた画像を載せておきます。(どんなフレーズで作成したかは想像におまかせします)
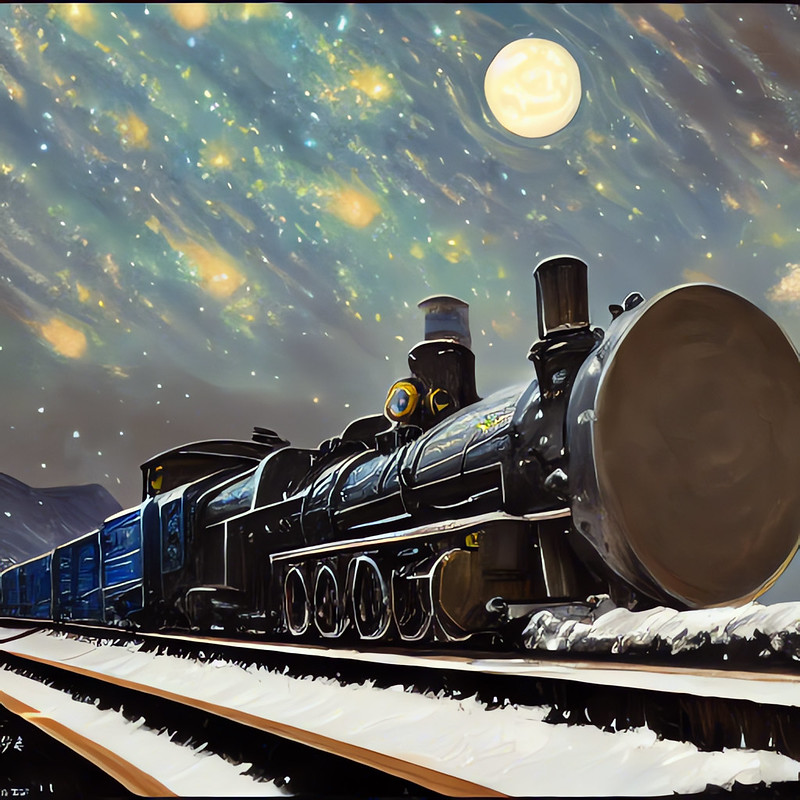

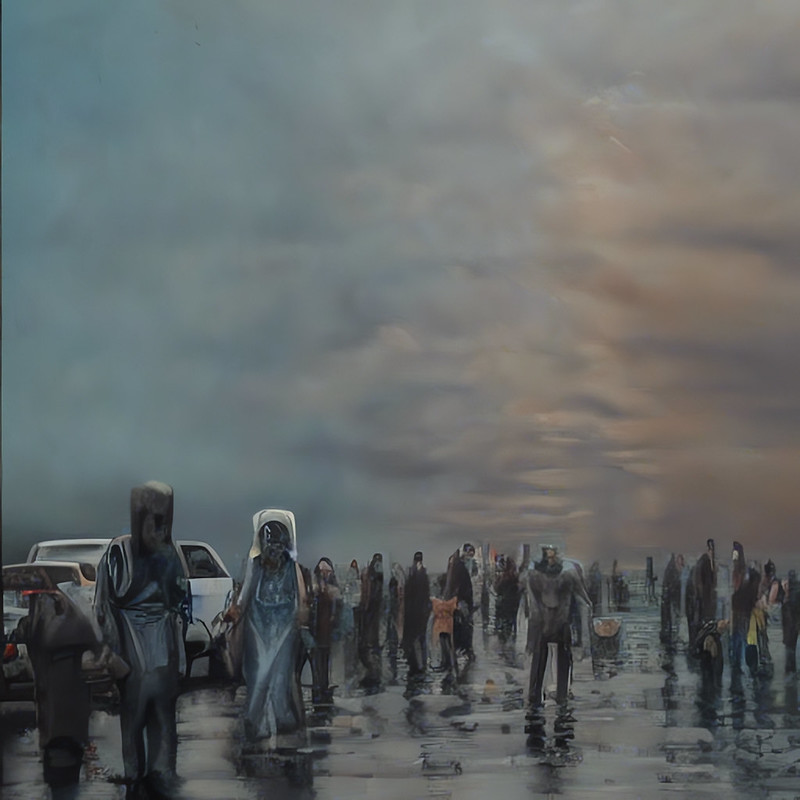
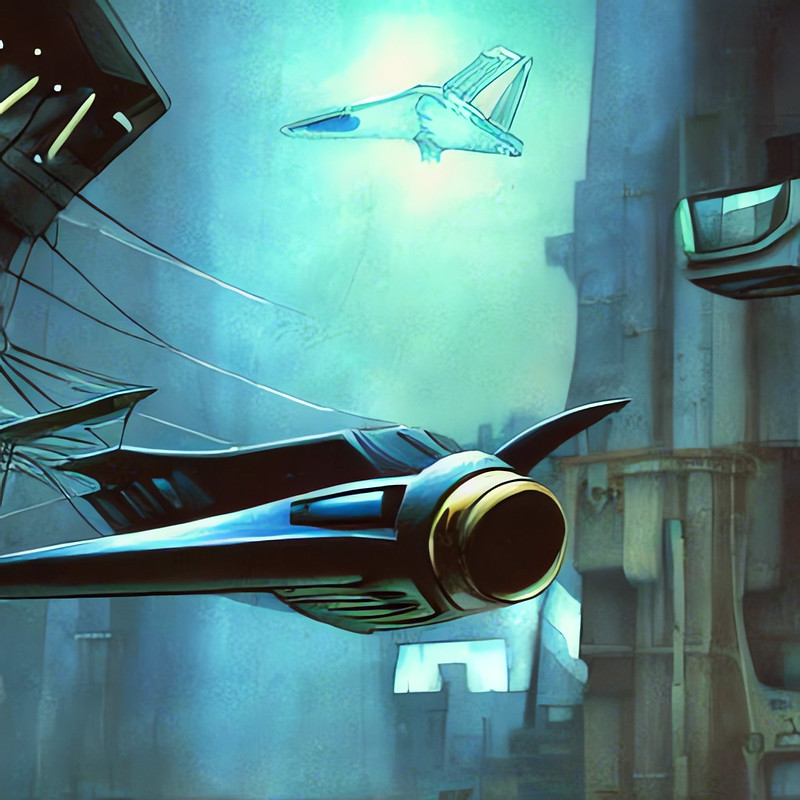


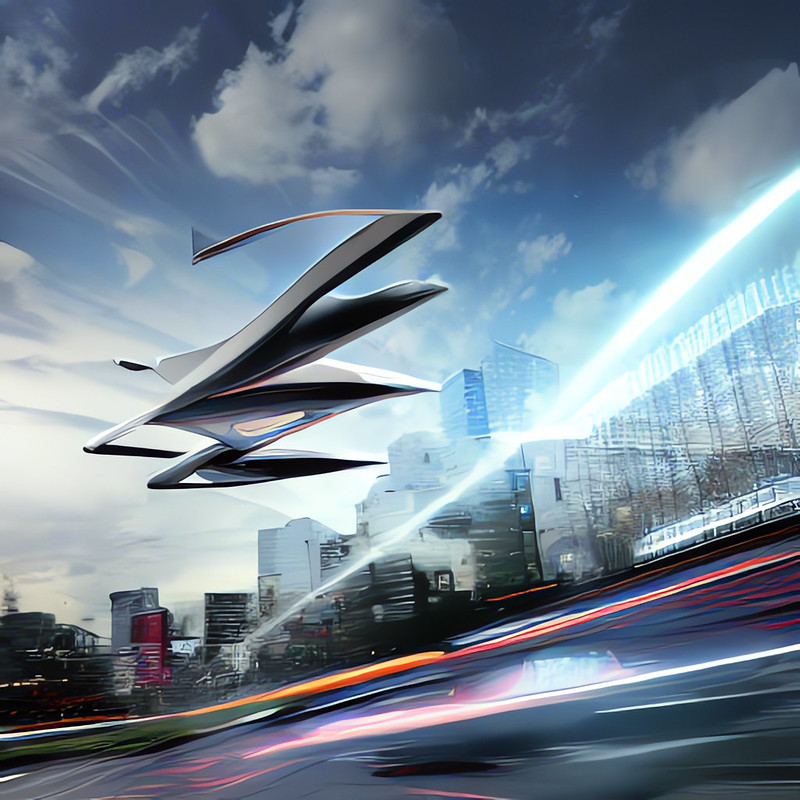
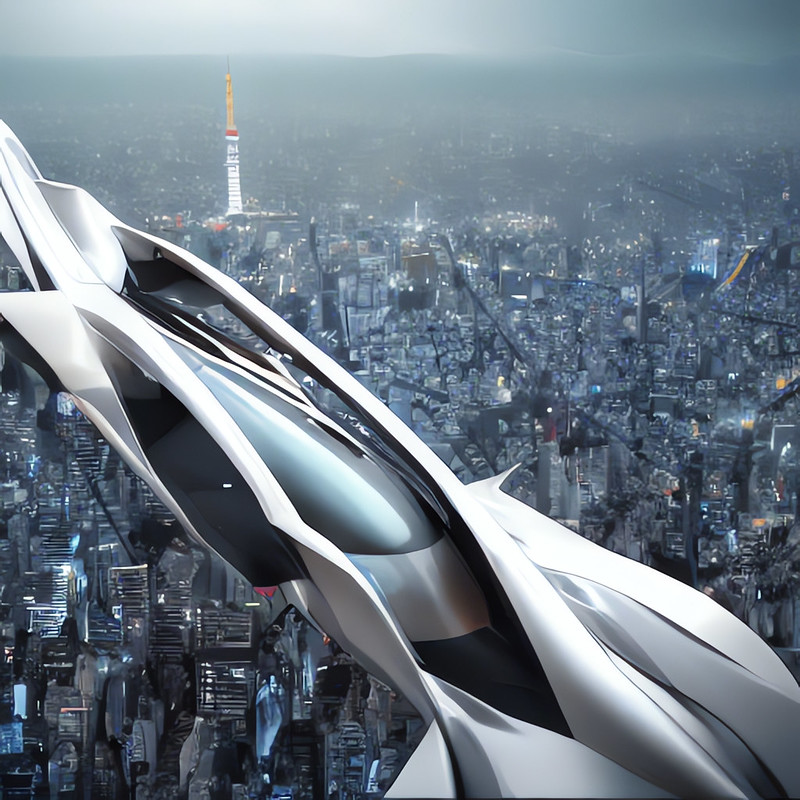


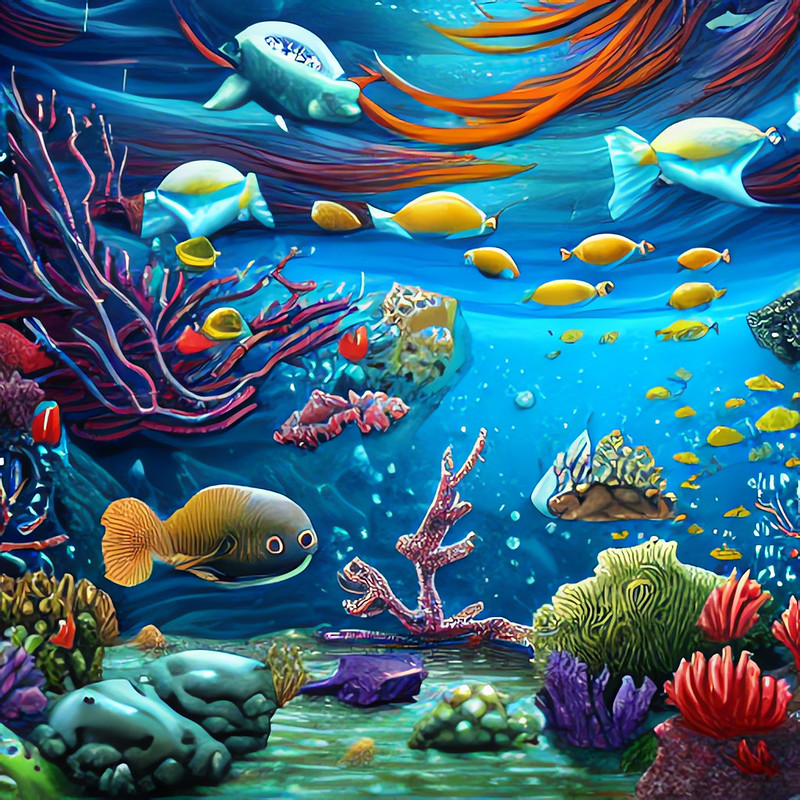
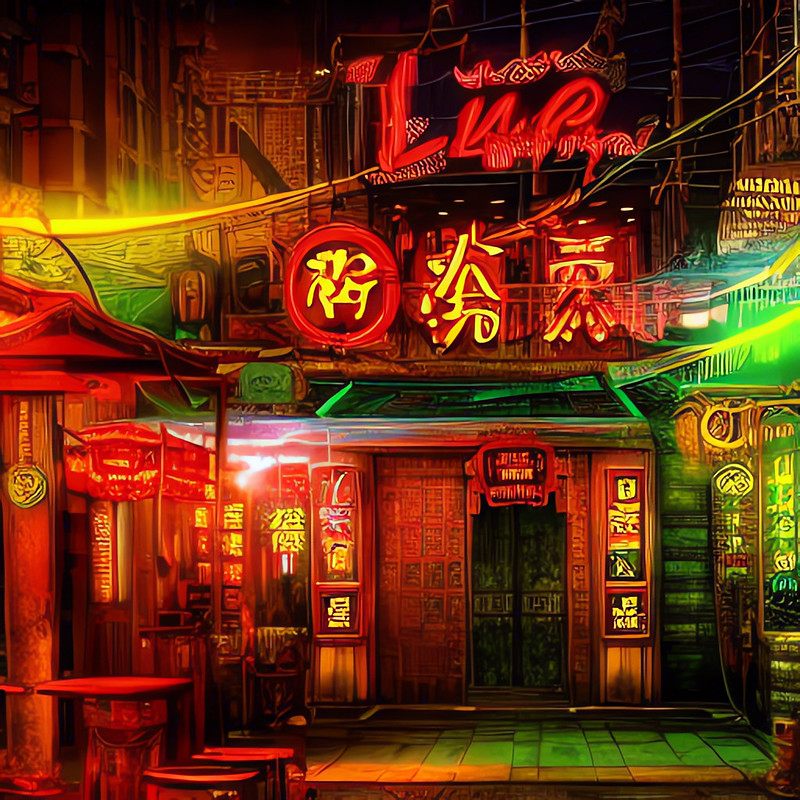

なんかそれっぽいような画像がどんどん作れます。面白いのでいろいろな文章を試したくなりますね。
Stable Diffusion は、オープンソースで商用利用も可能なので、いろいろなところにインパクトがありそう。
(追記)NVIDIA GeForce RTX2060(10GB)のUbuntuでも動くようになりました。1枚あたり40秒弱。やっぱり速いですね。
scripts/txt2img.py を編集して、下記の真ん中の1行を追加。
model = load_model_from_config(config, f"{opt.ckpt}")
model = model.to(torch.float16)
device = torch.device("cuda") if torch.cuda.is_available() else torch.device("cpu")
実行時はこんな感じにすると実行できました。
PYTORCH_CUDA_ALLOC_CONF=max_split_size_mb:100 python scripts/txt2img.py --prompt "(描きたい画像の説明)" --plms --n_samples 1 --n_iter 1

関連投稿:
 画像生成AI Stable Diffusion は、img2imgで簡単な下絵と文章から絵を書くこともできる #StableDiffusion
 NVIDIA RTX搭載Windows PCで GUIで簡単に #StableDiffusion を使える NMKD Stable Diffusion GUI が登場
 #StableDiffusion VRAM4GBのGPUでも動作 顔補正 アップスケール プロンプト比較 一部補正 などなど便利機能満載の Stable Diffusion web UI (AUTOMATIC1111)
 Apple M1/M2 Mac に Stable Diffusion web UI をインストールする方法 #StableDiffusion #BRAV5
ピンバック: 画像生成AI Stable Diffusion は、img2imgで簡単な下絵と文章から絵を書くこともできる #StableDiffusion | Digital Life Innovator
ピンバック: NVIDIA RTX搭載Windows PCで GUIで簡単に #StableDiffusion を使える NMKD Stable Diffusion GUI が登場 | Digital Life Innovator
ピンバック: Apple M1/M2 Mac に Stable Diffusion web UI をインストールする方法 #StableDiffusion #BRAV5 | Digital Life Innovator